AD | Affiliate Links
Kids enjoy making paper snowflakes using folded sheets of paper and scissors, but the craft is not just for children. Adults also enjoy folding, trimming, clipping, and making intricate flakes of decorative snow. They are good for more than just decorative windows.
Real Snowflakes Do Not Have Four Sides
Because of the structure of an ice crystal, they have SIX sides. The single most important tip to making great snowflakes is to fold the paper in SIX, not in FOUR. First, fold the paper in four, like you were going to start there, but instead of beginning to cut the snowflake, just kind of cut out an arc. Open it up. Does it look vaguely circular? No? Try again. Yes… You’re ready to continue.
How To Cut Better Paper Snowflakes
From the first winter, we are old enough to use scissors until the time we get out of grade school, cutting paper snowflakes is a yearly task. Nearly everyone who has ever cut a snowflake knows just how blocky and ugly and UN-snowflake-like a paper snowflake can look. Here are a few tips for making your paper snowflakes look like a real icy thing.
The first tip has to do with how you fold the paper. Most people fold the paper in half and then in half again so that the full sheet is now folded in quarters. When they get done cutting the flake, they open their creation and it’s SQUARE. Ugh. Not very snowflake-like, is it?

How to make Paper Snowflakes
- Fold the paper in half again, along the first fold. Now, instead of folding it in half, fold it in THREE. You can do this by folding it gently about one-third of the way from the other side. Now before you make any hard creases in the paper, even out the paper until all three sections are very close to the same size. When you finish making the cuts, you will have a six-pointed snowflake.
- The second tip is to use small, very sharp, very pointed scissors. Cuticle scissors, which may be purchased from the drugstore or a beauty supply store make the best snowflake cutting scissors. The slight curve in the blade also can make for some beautifully artistic, but not very crystalline forms. If you don’t feel comfortable with the curved scissor, or you cannot make a straight line, use a straight-bladed scissor… But use a TINY one.
- The third tip is a simple observation: small cuts make a delicate snowflake. Make a few big cuts to block out the snowflake’s basic design. Do you want it to be round or spiked? Do you want it to be somewhat lopsided? This is paper, it can be as fanciful in basic form as you like. But after you get it roughed out, it is important to make hundreds of small cuts. Those small cuts make the flake delicate and beautiful rather than blocky and papery.
- The final tip is an even more simple observation: practice makes perfect. To make a truly beautiful paper snowflake, you must make many of them. You must get it so that you know just how far you can cut without cutting through and just how much paper to take out. The scissor must become an extension of your fingers and your fancy. But with that practice, you will create wonderful bits of art that will be around a great deal longer than your average snowflake.
Paper Snowflakes Crafts You Should Make
Enjoy these five winter crafts that include paper snowflakes, and create lovely home decor, unique greeting cards, and more. Get out your scissors and sheets of construction paper and cardstock, and transform something ordinary into extraordinary wintertime art.

Paper Snowflake Greeting Cards
If you enjoy making your greeting cards instead of buying them, consider adding paper snowflakes. Fold a sheet of light blue cardstock in half, and create an intricate snowflake. Place it on a sheet of waxed paper or another disposable surface, and apply spray adhesive. Immediately stick half of it to the front of the card, and fold the rest around the back. If you prefer sparkling snowflakes, use a cotton swab to apply craft glue to the cutout. Cover it with white iridescent glitter. Finish decorating and labelling the card as desired.
Create a Chain for a Mantel or Holiday Tree
Paper chains are usually very basic. They are typically made from strips of paper that have been linked and glued or taped together. Instead of using paper strips, use handmade snowflakes. Thread them onto a long piece of yarn. Knot the yarn in between the flakes to keep them from becoming bunched together. Use the chain to decorate the edge of a fireplace mantel or around a holiday tree.
Make a Paper Snowflake Wreath
Paper snowflake wreaths are delicate, detailed, and absolutely gorgeous. You will need a foam wreath form and various shades of blue cardstock and bright white cardstock. Apply a thin layer of craft glue to the snowflakes, and sprinkle them with white iridescent glitter. After the glue dries, use Weldbond to attach the flakes to the foam, and be sure to overlap them to completely cover the wreath.
Decorative Winter Votive Cups
Plain glass votive cups can be beautifully decorated with paper snowflakes and used with battery-operated votive candles. Make the flakes just large enough to wrap around the bottom and up the sides of the holders. Do not worry about creases. Apply the designs with a decoupage medium. After it dries, apply a top coat to seal the paper. They will look gorgeous when illuminated with flickering battery-operated candles. They make fantastic gifts too.

Create a Curtain of Gorgeous Snowflakes for a Window
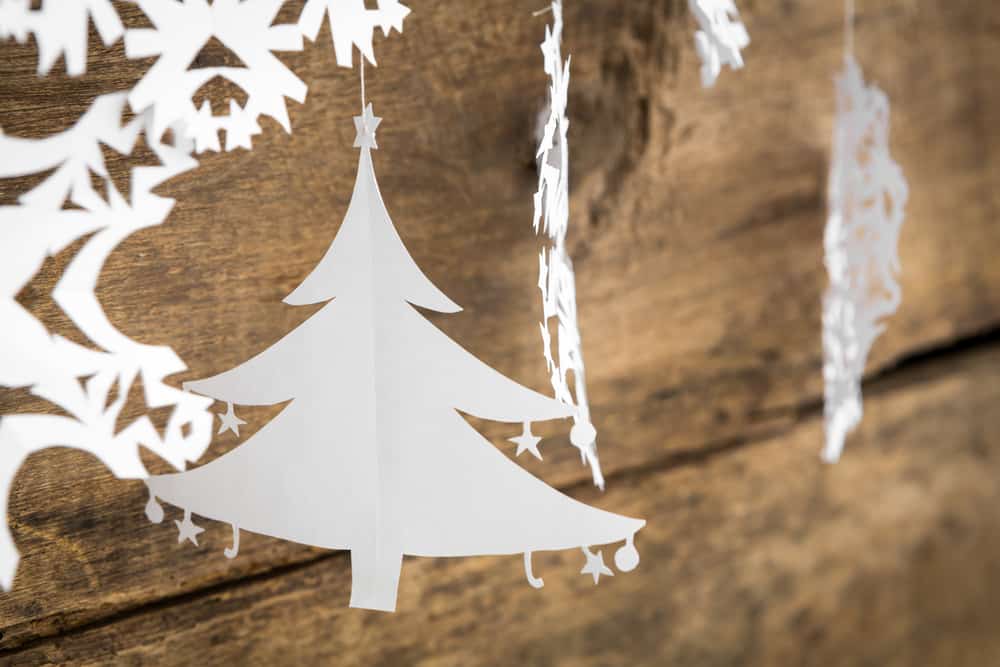
Paper snowflakes can be used to make gorgeous window treatments that will enhance your winter view. Even if snow does not blanket the ground, it can cover a window. Make dozens of beautiful snowflakes using printer paper or another lightweight variety. Hang them in vertical rows from an invisible thread on the drapery rod. Each time a slight draft touches the decorations, they will gently sway and twist in the breeze. Consider placing flickering battery-operated tea light candles in the window just below or behind them. They will beautifully illuminate your nighttime winter display.


