Despite their exotic reputation, orchids make surprisingly resilient houseplants that grace indoor spaces with elegant, long-lasting blooms. Many newcomers feel intimidated by concerns about overwatering or providing proper lighting, but these challenges become manageable once you understand the basics.
When you’re ready to begin your orchid adventure, you can buy orchid online from trusted sources to find healthy, beginner-friendly varieties like Phalaenopsis that give you the best chance of success. Master the three pillars of orchid care—light, water, and maintenance—and you’ll soon discover the joy of nurturing these stunning plants through multiple blooming cycles.
Understanding Orchid Basics and Why They Thrive Indoors
What sets orchids apart from your typical houseplant is their fascinating epiphytic nature. In the wild, these remarkable plants don’t grow in soil at all—they perch on trees and rocks, using their aerial roots to pull moisture and nutrients straight from the surrounding air. This unique adaptation actually makes them excellent candidates for indoor growing, provided you understand what they need.
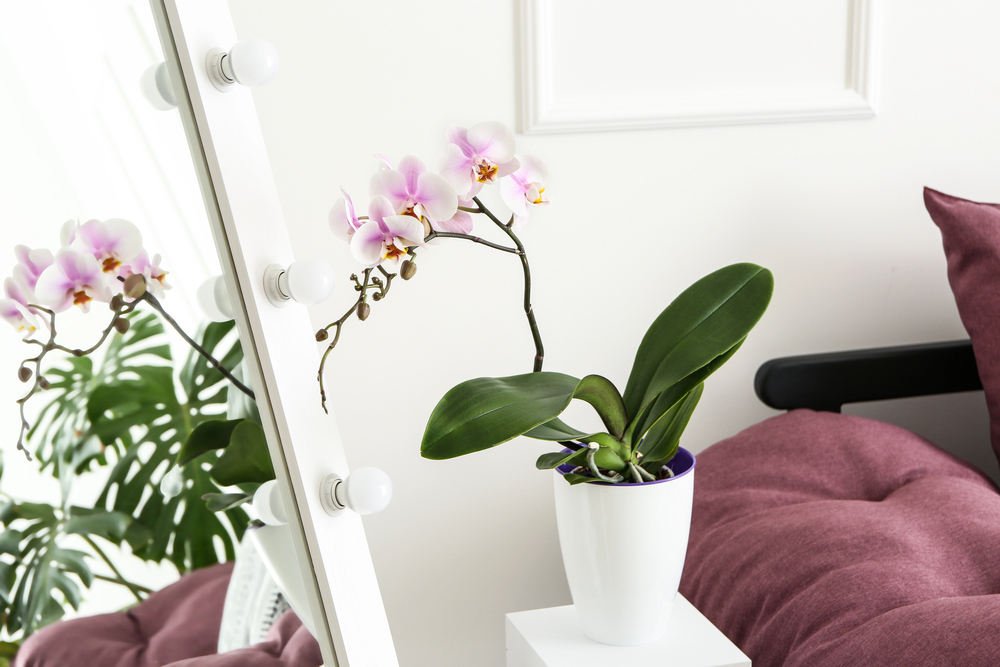
Phalaenopsis orchids, affectionately called moth orchids, are perfect for beginners because they’re remarkably forgiving and reward you with blooms that last three to four months. Unlike some orchid varieties that spread outward, these plants grow in a simple vertical pattern from a single stem, which keeps their care routine straightforward and predictable.
The best beginner orchid varieties include:
- Phalaenopsis: Extended 3-4 month blooming periods, tolerates lower light conditions
- Dendrobium: Compact growth habit with predictable seasonal blooms
- Oncidium: Delightfully fragrant flowers that adapt well to various home conditions
- Cattleya: Spectacular large blooms with moderate care needs
Once you grasp these different growth habits, you can adjust your care routine accordingly and set realistic expectations for when and how your orchids will bloom.
Optimal Light and Location for Healthy Growth
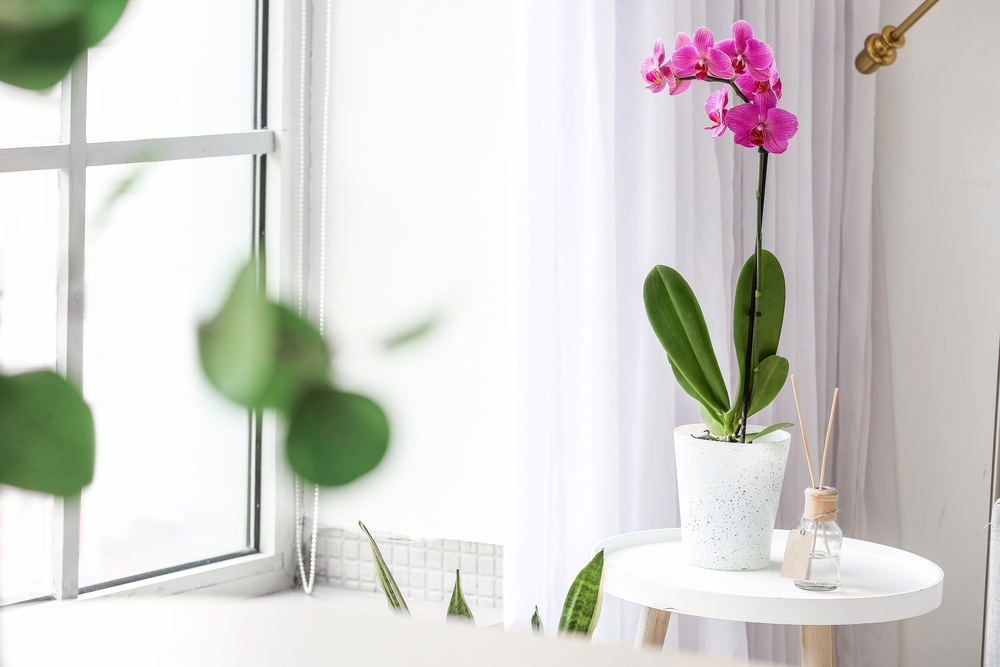
Getting the lighting right forms the cornerstone of orchid success. Bright, indirect light is what you’re after—think of an east or west-facing windowsill where your plant gets plenty of illumination without harsh direct sun beating down on the leaves. South-facing windows can work too, but you’ll need sheer curtains to filter that intense sunlight, which can quickly burn delicate orchid foliage.
Temperature consistency matters just as much as light quality. Orchids are happiest when daytime temperatures hover between 60-80°F (15-27°C), with a slight cooling at night that actually helps trigger blooming. Humidity between 40-70% keeps them comfortable—you can boost this with a simple humidity tray (just a shallow dish with water and pebbles) or by lightly misting around the plant in the morning.
Don’t have the perfect window? Full-spectrum LED grow lights work beautifully when positioned about 12 inches above your plants. Here’s a real-world example that illustrates the power of proper placement: moving a struggling store-bought orchid from a dim corner to an ideal east-facing window typically sparks new growth and often leads to reblooming within six to twelve months.
Remember this: Location truly matters—east-facing windows closely mimic the dappled light orchids receive in their natural habitat.
Watering Techniques to Avoid Common Pitfalls
Here’s the golden rule that will save you from most orchid disasters: water only when the top third of the growing medium feels dry to the touch. Most orchids need a thorough weekly drink, but the key is never letting them sit in standing water afterward—that’s a fast track to root rot.
You have several effective watering approaches. The simplest method involves taking your orchid to the sink for a thorough top-down flush, then allowing complete drainage. Many growers swear by the bucket submersion technique:
- Fill a container with room-temperature water
- Let the orchid pot soak for 10-30 minutes
- Drain completely before returning the plant to its spot
- Wait until the medium partially dries before the next watering
Your plants will tell you what they need if you know how to read the signs. Wrinkled, accordion-like leaves are crying out for more water, while soft, brown roots indicate you’ve been too generous with the watering can. The chunky bark mixture orchids grow in needs to breathe—this specialized medium mimics their natural growing conditions while preventing the water retention that spells doom for orchid roots.
Fertilizing, Pruning, and Repotting Essentials
During active growing seasons, orchids appreciate weekly feeding with a diluted orchid fertilizer—use about quarter strength of what the package recommends. Scale back during winter months or when your plant isn’t actively blooming, as they simply don’t need as much nutrition during these quieter periods.
When it comes to pruning, cleanliness is crucial. Always sterilize your cutting tools with rubbing alcohol before making any cuts. After flowers fade, you can cut the spike just above a visible node to potentially encourage a second flush of blooms, though many growers prefer removing the entire spike to help the plant focus its energy on new growth.
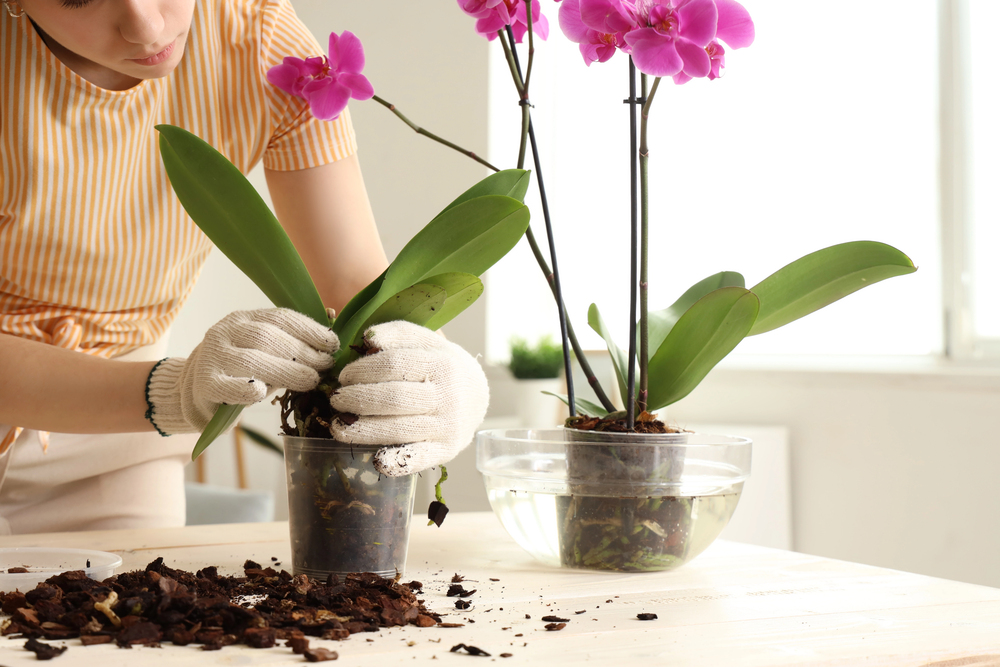
Plan to repot every year or two, or immediately after blooming when you notice the bark medium starting to break down. Choose the smallest clear plastic pot that comfortably houses the root system—this promotes proper air circulation and lets you monitor root health. During repotting, trim away any mushy or blackened roots with sterile scissors, then nestle your orchid into fresh orchid bark mix.
Here’s a success story that demonstrates the power of timely repotting: a post-bloom orchid that seems to be declining often transforms into a vigorous, healthy plant simply through fresh medium and proper root care.
Troubleshooting and Long-Term Success Strategies
Most orchid problems have straightforward solutions once you identify the underlying cause. Yellowing leaves usually point to lighting issues or watering imbalances—try adjusting the plant’s location or tweaking your watering schedule. Stubborn non-bloomers often need more distinct temperature differences between day and night, or they may require a proper rest period to reset their blooming cycle.
Your quick troubleshooting reference:
- Wrinkled leaves → Water more frequently
- Yellowing leaves → Evaluate light exposure and drainage
- No blooms → Check for temperature variation and rest periods
- Brown root tips → Water less often and improve drainage
Consistent care includes staking tall flower spikes as they develop and, if you’re feeling adventurous, giving your orchids a protected summer vacation outdoors in filtered shade. With attentive care, a single orchid can reward you with years of spectacular blooming cycles, gradually building your confidence and expertise.

Conclusion
Success with orchids comes down to mastering the balance between three essential elements: proper lighting, thoughtful watering, and consistent maintenance. These extraordinary plants have a way of turning beginners into devoted enthusiasts through their stunning, recurring displays of beauty.
Start with just one plant, pay close attention to how it responds to your care, and adjust your approach based on what you observe. This personalized learning process is what transforms novice growers into confident orchid caretakers, bringing years of satisfaction and the incomparable joy of nurturing these magnificent flowering companions.
Image Credit: depositphotos.com