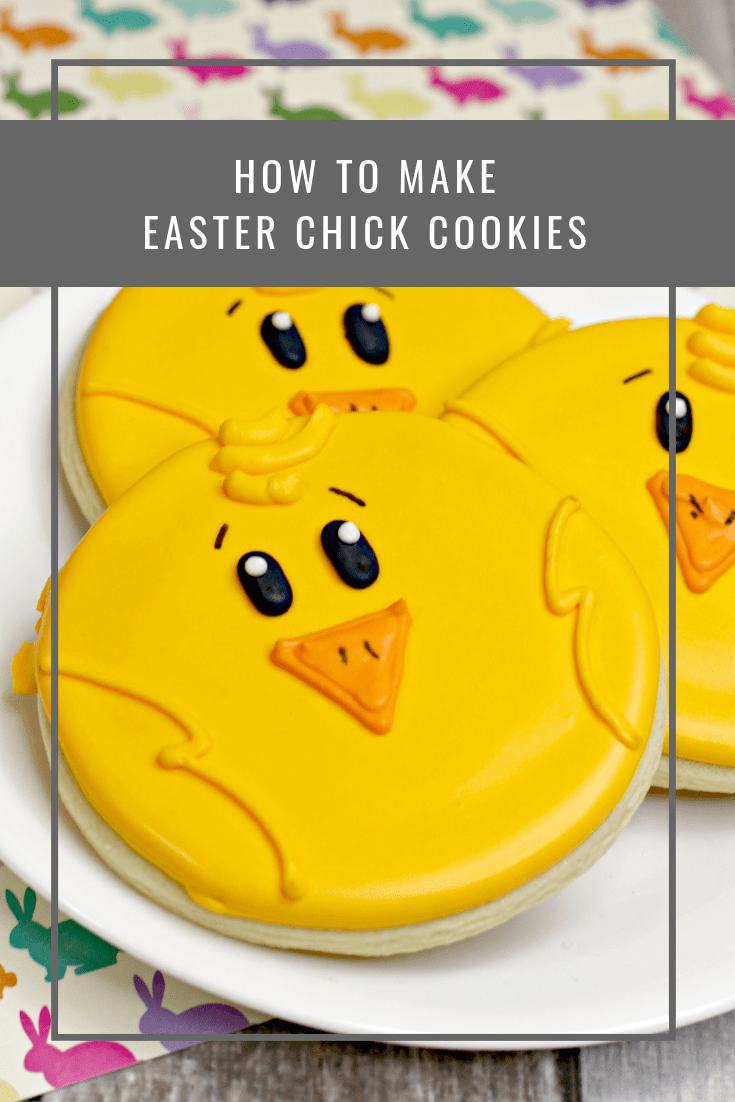
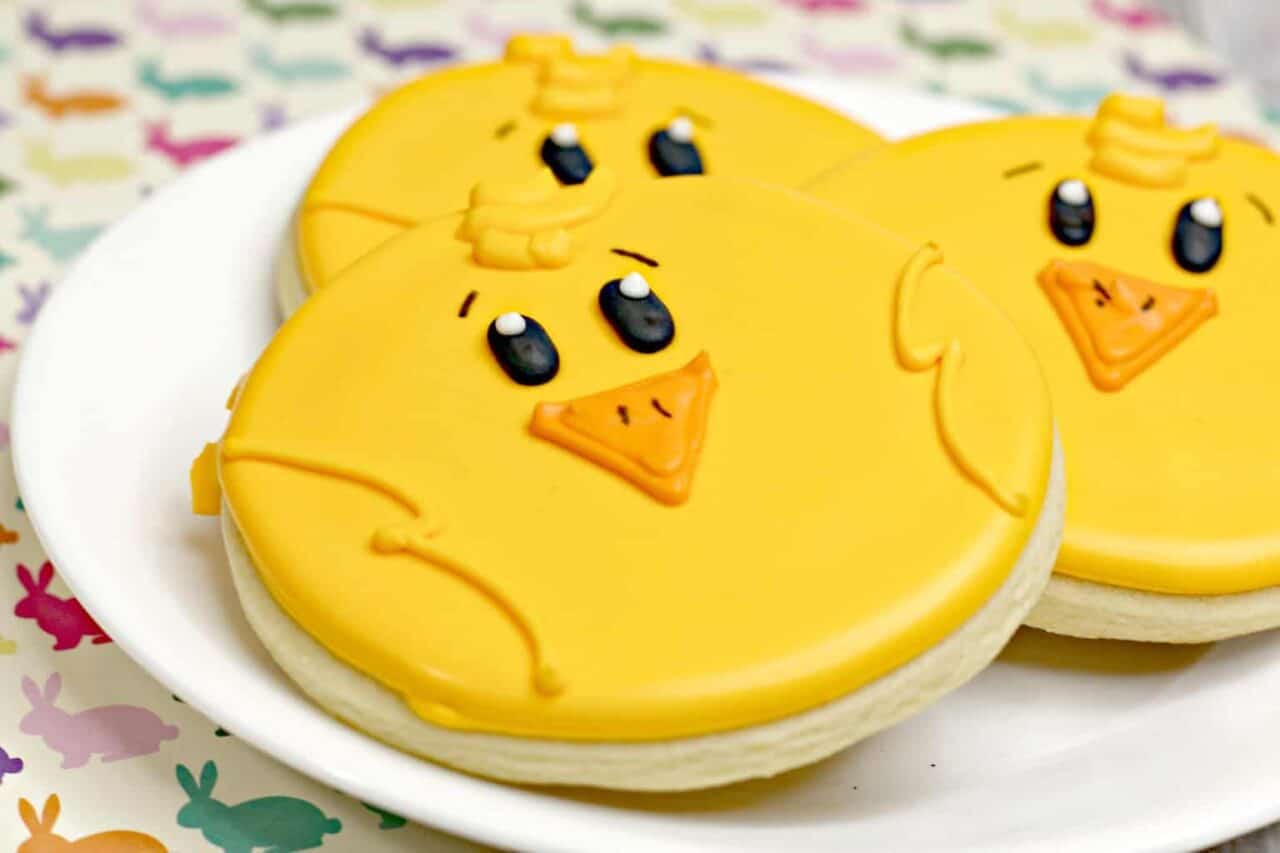
Easter Chick Sugar Cookies are the perfect way to share a smile this holiday. They are delicious, adorable and not too complicated to make.
These are the cutest sugar cookies, hands down. You might expect that decorating these Easter chick cookies will take all day, but you will find that the design couldn’t be easier. Before you begin baking, note that there is an overnight drying period in the decorating process. This is an essential step in achieving the pictured results.
Easter Chick cookies are decorated with royal icing, you will find the recipe below. I highly recommend using this icing as it has a wonderful flavour and is easy to work with.
Considering the drying time required, be sure to begin your cookies the day before you will serve them at a minimum. If you are serving these later in the week, they will store well at room temperature when covered, so you can prepare them several days in advance without concern for flavor, texture or freshness.
How to make Easter Chick Cookies

Cookie Dough
Ingredients
- 1 cup unsalted sweet cream butter – softened
- 1 1/2 cups icing sugar
- 1 tsp vanilla extract
- 1 tsp almond extract
- 1 large egg
- 1 tsp baking soda
- 1 tsp cream of tarter
- 3 1/2 cups plain flour
Cookie cutter: 3-inch circle
Makes: 25-30 cookies
Directions
- Preheat oven to 175C / Gas Mark 4
- Line cookie sheet with parchment paper
- Using a standing mixer, cream together the butter, icing sugar, vanilla, almond extract and egg and mix until combined
- In a large bowl combine the flour, baking soda, and cream of tarter. Mix until combined
- Gradually mix in the flour mixture into the wet ingredients until combined
- Lightly flour a cutting board and begin to knead the dough until the dough is smooth
- Roll the dough out to 1/4 inch thick
- Using the cookie cutter, cut out the shapes and place onto the cookie sheet about 1 inch apart
- Bake in the oven for 8 minutes or until slightly golden brown
- Pull out of the oven and allow to cool completely

Royal Icing
Ingredients
- 3 egg whites
- 2 cups icing sugar
- 1/2 tsp cream of tarter
- 1 tsp vanilla
- 5 piping bags – 3 fitted with the number 2 tip, 1 fitted with a number 1 tip and 1 fitted with the number 101 tip
- Black, orange and golden yellow gel food coloring
- 3 bowls to mix the colors in
- 1 Squeeze bottles for the thinned icing

Directions
- Using the standing mixer, combine the powder sugar, egg whites, cream of tarter and vanilla and mix on medium speed
- If the royal icing is still a yellow soup, add in 1/2 cup icing sugar
- Continue to mix until you get stiff peaks
- Scoop a spoonful amount of icing into the piping bag with the number 1 tip
- Scoop 1/2 cup of icing into a bowl and add few drops of black food colouring and mix until combined
- In the second bowl, scoop 1/2 cup of the icing and a few drops of orange food coloring and mix until combined
- Mix in a few drops of the golden yellow food coloring into the remaining icing
- Scoop 1/4 cup of the golden yellow icing into one of the piping bags fitted with a number 2 tip and scoop another 1/4 cup into the piping bag fitted with the 101 tip
- Scoop the black icing into the remaining piping bag
- Add a tbsp of water into the remaining golden yellow icing and mix until combined
- Lift spoon from icing and if the icing doesn’t flow like lava mix in 1 more tbsp of water
- Pour the thinned icing into the squeeze bottle
- Using the golden yellow piping bag with the number 2 tip, pipe an outline around the edge of the cookies
- Fill in the outline with the thinned icing
- Allow cookies to dry completely over night
- Using the orange piping bag, pipe a upside down triangle for the chick’s beak and fill in
- Fill in the nose with the remaining thinned icing
- Using the black icing, pipe two dots above the beak for the eyes
- Using the number 1 piping bag, pipe white dots on the black for the pupils
- Using the golden yellow piping bag fitted with number 2 tip, pipe out the detail of a feather along the left and right side of the cookie
- Using the piping bag with the 101 tip, pipe “hair” on the top middle of the cookies
- Allow to dry for 4 hours
- Using the edible black marker, draw out eyebrows and nostrils


No Comments